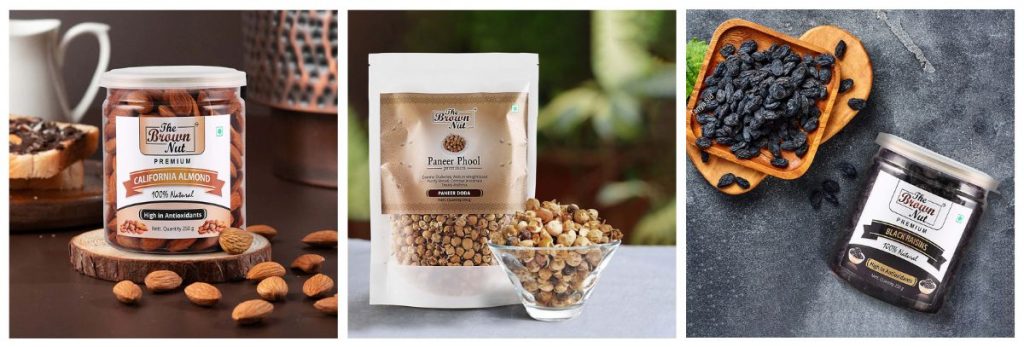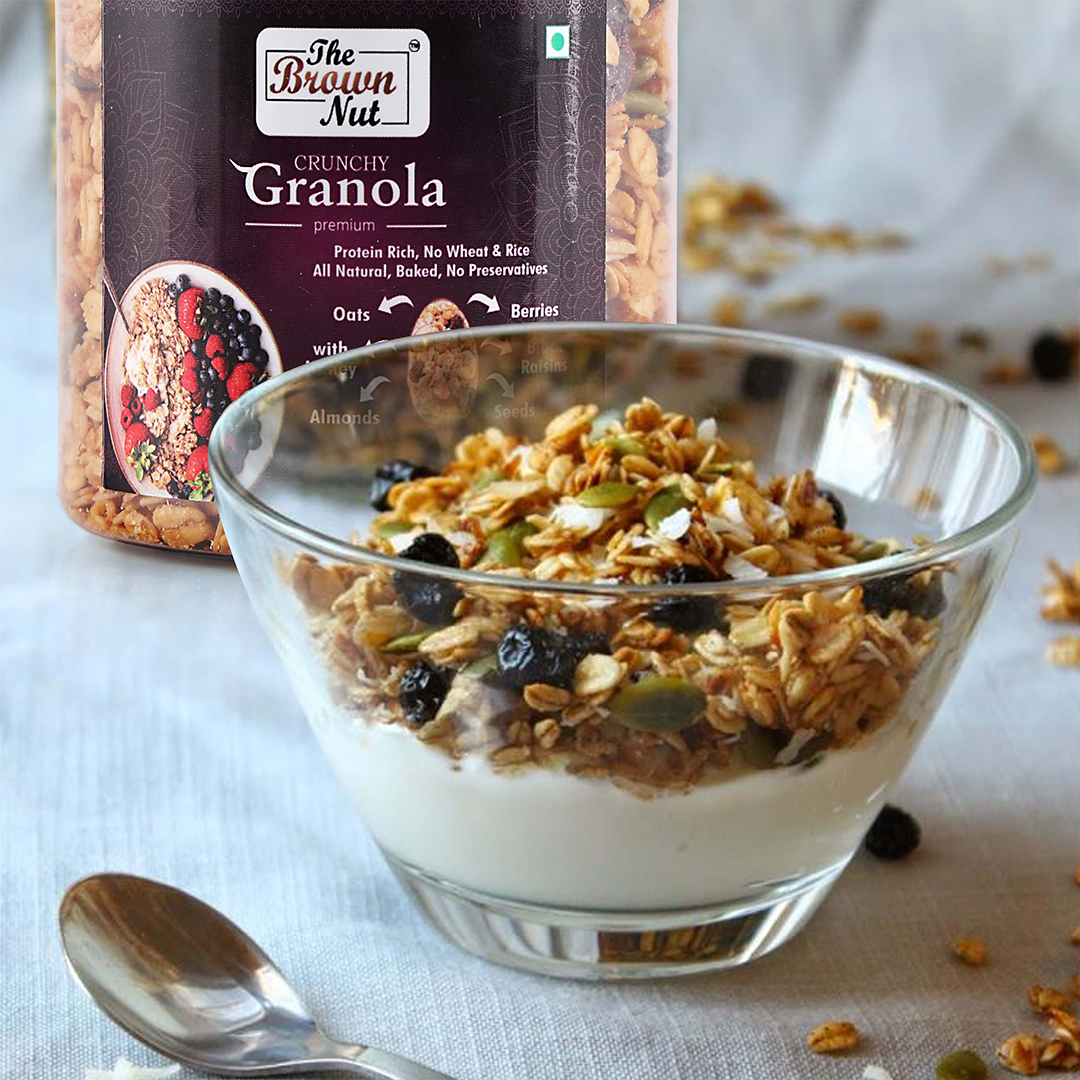
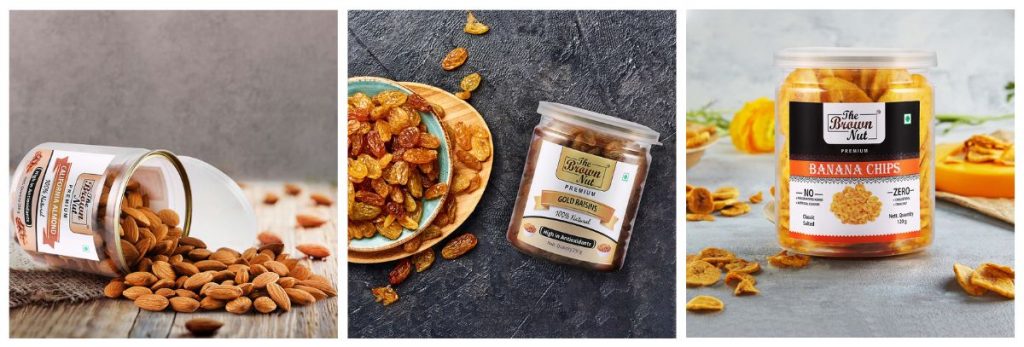
Food product photography is an art form that requires precision, skill, and a keen eye for detail. In today’s digital age, where visual content is king, having high-quality photos of your food products can make all the difference in attracting customers and increasing sales. Whether you’re a professional photographer or a food business owner looking to improve your product images, this ultimate guide will provide you with all the knowledge and tips you need to create stunning and mouth-watering food product photos.
Introduction to Food Product Photography
Food product photography is more than just capturing a simple snapshot of a dish or a food item. It is about creating an image that evokes emotions, tells a story, and entices the viewer to take a bite. The goal of food product photography is to showcase the product in its best light, highlighting its colors, textures, and mouth-watering appeal.
Importance of High-Quality Food Product Photography
In the world of food, presentation is everything. A poorly taken photograph can make even the most delicious dish look unappetizing. On the other hand, a well-executed photograph can elevate a simple food item into a desirable delicacy. High-quality food product photography services not only attracts customers but also builds trust and credibility for your brand. When done right, it can communicate the quality, freshness, and attention to detail that goes into each product.
Basic Equipment for Food Product Photography
To create stunning food product photos, you don’t need to break the bank on expensive equipment. With the right tools, you can achieve professional-looking results. Unveiling the must-have equipment for your needs:
- Camera: Invest in a DSLR or mirrorless camera that allows you to have full control over the settings. This will give you the flexibility to adjust aperture, ISO, and shutter speed to capture the perfect shot.
- Lenses: A macro lens is ideal for food product photography as it allows you to focus on the smallest details and capture the textures of the food. A prime lens with a wide aperture is also great for achieving a shallow depth of field and creating a blurred background.
- Tripod: Using a tripod ensures stability and eliminates camera shake. It allows you to take long exposure shots without the risk of blurring. Look for a sturdy tripod that can hold the weight of your camera and lens.
Lighting Techniques for Food Product Photography
Lighting is crucial in food product photography as it sets the mood, highlights the textures, and brings out the colors of the food. Explore these lighting techniques to take into account:
- Natural Light: The best light for food photography is natural light. Shoot your photos near a large window or outdoors during the day when the light is soft and diffused. Use a white reflector to bounce light onto the shadow areas and create a more balanced exposure.
- Artificial Light: If natural light is not available or you want more control over the lighting, you can use artificial light sources. Softboxes, diffusers, and reflectors can help you achieve a soft and even light on your subject.
- Backlighting: Backlighting is a technique where the main light source is placed behind the subject, creating a beautiful glow around the food. It works particularly well for translucent foods like beverages or salads.
Composition and Styling Tips for Food Product Photography
Composition and styling play a significant role in food product photography. They help create a visually appealing image and guide the viewer’s eye to the main subject. Here are some tips to enhance your composition and styling:
- Rule of Thirds: Divide your frame into a 3×3 grid and place your food product at the intersection points. This off-centered composition creates a more balanced and dynamic image.
- Props and Background: Choose props and backgrounds that complement your food product and tell a story. Use textures, colors, and shapes that enhance the overall aesthetic. Experiment with different surfaces like wooden boards, fabric, or ceramic plates.
- Garnishing and Styling: Pay attention to the smallest details like garnishing, arranging ingredients, and creating a sense of movement. Use fresh herbs, sauces, or crumbs to add texture and visual interest to your food.
Editing and Post-Processing for Food Product Photography
Editing and post-processing are essential steps in food product photography. They allow you to enhance the colors, adjust the exposure, and refine the overall look of your photos. Here are some editing tips:
- Software: Use professional editing software like Adobe Lightroom or Capture One for advanced editing capabilities. These programs offer tools for adjusting exposure, white balance, colors, and sharpness.
- White Balance: Adjust the white balance to ensure that the colors in your photo are accurate. Use the eyedropper tool to select a neutral gray or white area in the image as a reference point.
- Clarity and Sharpness: Increase the clarity and sharpness of your food product to make it stand out. Be careful not to overdo it, as it can create an unnatural and unappetizing look.
Tips for Creating Mouth-Watering Food Product Photos
Creating mouth-watering food product photos goes beyond technical skills. It requires creativity, attention to detail, and an understanding of what makes food visually appealing. Here are some tips to make your food products look irresistible:
- Fresh Ingredients: Use fresh, colorful, and high-quality ingredients to showcase the freshness and quality of your product.
- Food Styling: Arrange ingredients in an appealing way, highlighting their textures, shapes, and colors. Use garnishes, sauces, and props to add visual interest.
- Steam and Condensation: To create the illusion of freshly cooked food, use steam or condensation on your food product. You can achieve this by heating up the food or using a spray bottle filled with water.
Showcase of Successful Food Product Photography Examples
To inspire your own food product photography, here are some examples of successful food product photos:
- Example 1: A close-up shot of a juicy burger with melted cheese and crispy lettuce, showcasing the textures and colors of each ingredient.
- Example 2: A beautifully arranged charcuterie board with a variety of cured meats, cheeses, and fresh fruits, highlighting the artistry and craftsmanship.
- Example 3: A vibrant smoothie bowl with a colorful array of toppings, creating a visually striking and appetizing image.
How to Build a Food Product Photography Portfolio?
Building a food product photography portfolio is essential if you want to attract clients and showcase your skills. Here are some steps to create an impressive portfolio:
- Select Your Best Work: Choose a selection of your best food product photos that demonstrate your style, creativity, and technical skills.
- Variety: Include a variety of food items, compositions, and styles to showcase your versatility as a photographer.
- Presentation: Present your portfolio in a clean, professional, and easy-to-navigate format. Use a website or an online portfolio platform to showcase your work.
The Business Side of Food Product Photography
To turn your food product photography passion into a profitable business, here are some tips to consider:
- Pricing: Determine your pricing structure based on your experience, equipment, and the market demand. Research what other photographers in your area are charging to stay competitive.
- Marketing: Create a strong online presence through social media platforms, a professional website, and collaborations with local businesses. Showcase your work, engage with your audience, and build a strong brand.
- Networking: Attend food industry events, collaborate with food bloggers or influencers, and reach out to local restaurants, bakeries, and food businesses. Building a network of clients and collaborators can lead to future opportunities.
Resources for Learning and Improving Food Product Photography Skills
If you want to further develop your food product photography skills, here are some resources to consider:
- Online Courses: Take online courses or workshops specifically focused on food product photography. Platforms like Udemy, Skillshare, and CreativeLive offer a wide range of courses taught by experienced professionals.
- Books: Invest in photography books that specifically cover food product photography techniques, composition, and styling. Some recommended titles include “Plate to Pixel” by Helene Dujardin and “Food Photography: From Snapshots to Great Shots” by Nicole S. Young.
- Online Communities: Join online communities or forums dedicated to food photography. Engage with other photographers, ask questions, and share your work for feedback and inspiration.
Food product photography is a powerful tool that can elevate your food business and attract customers. By following the tips and techniques outlined in this ultimate guide, you can create stunning and mouth-watering food product photos that will leave your audience craving for more. Remember, practice makes perfect, so grab your camera, experiment with different styles, and have fun capturing the art of food.